How to build a Rare Book Box!
Often in small community archives, we rely on DIY preservation—crafting personalized options for our materials to help limit degradation by reducing the amount of exposure to light, dust, and the wear caused by repeated access. For historical materials in particularly fragile condition, this form of preservation can be essential for keeping them useable for extended lengths of time.
One such project is the rehousing of our rare book collection. Our collection is largely accessible to the public, features regularly in workshops, and includes materials which are hundreds of years old. In September 2024, we began working to rehouse our rare books. With only nine books left to house, the process has become streamlined, and so we wanted to share our lessons learned for the larger community in this quick DIY rare book box creation guide using archival-grade, acid-free, lignin-free manilla cardstock. Given the feedback, it seems this guide is needed!
Materials:
o Exact-Fit Rare Book Boxes Cardstock Kit in two sizes (We used 12”x27” and 6”x23”)
o Velcro (comes with kit)
o Pencil and Eraser
o Ruler
o Scissors and razor
o J-Lar Super Clear Acid-Free Tape
Steps:
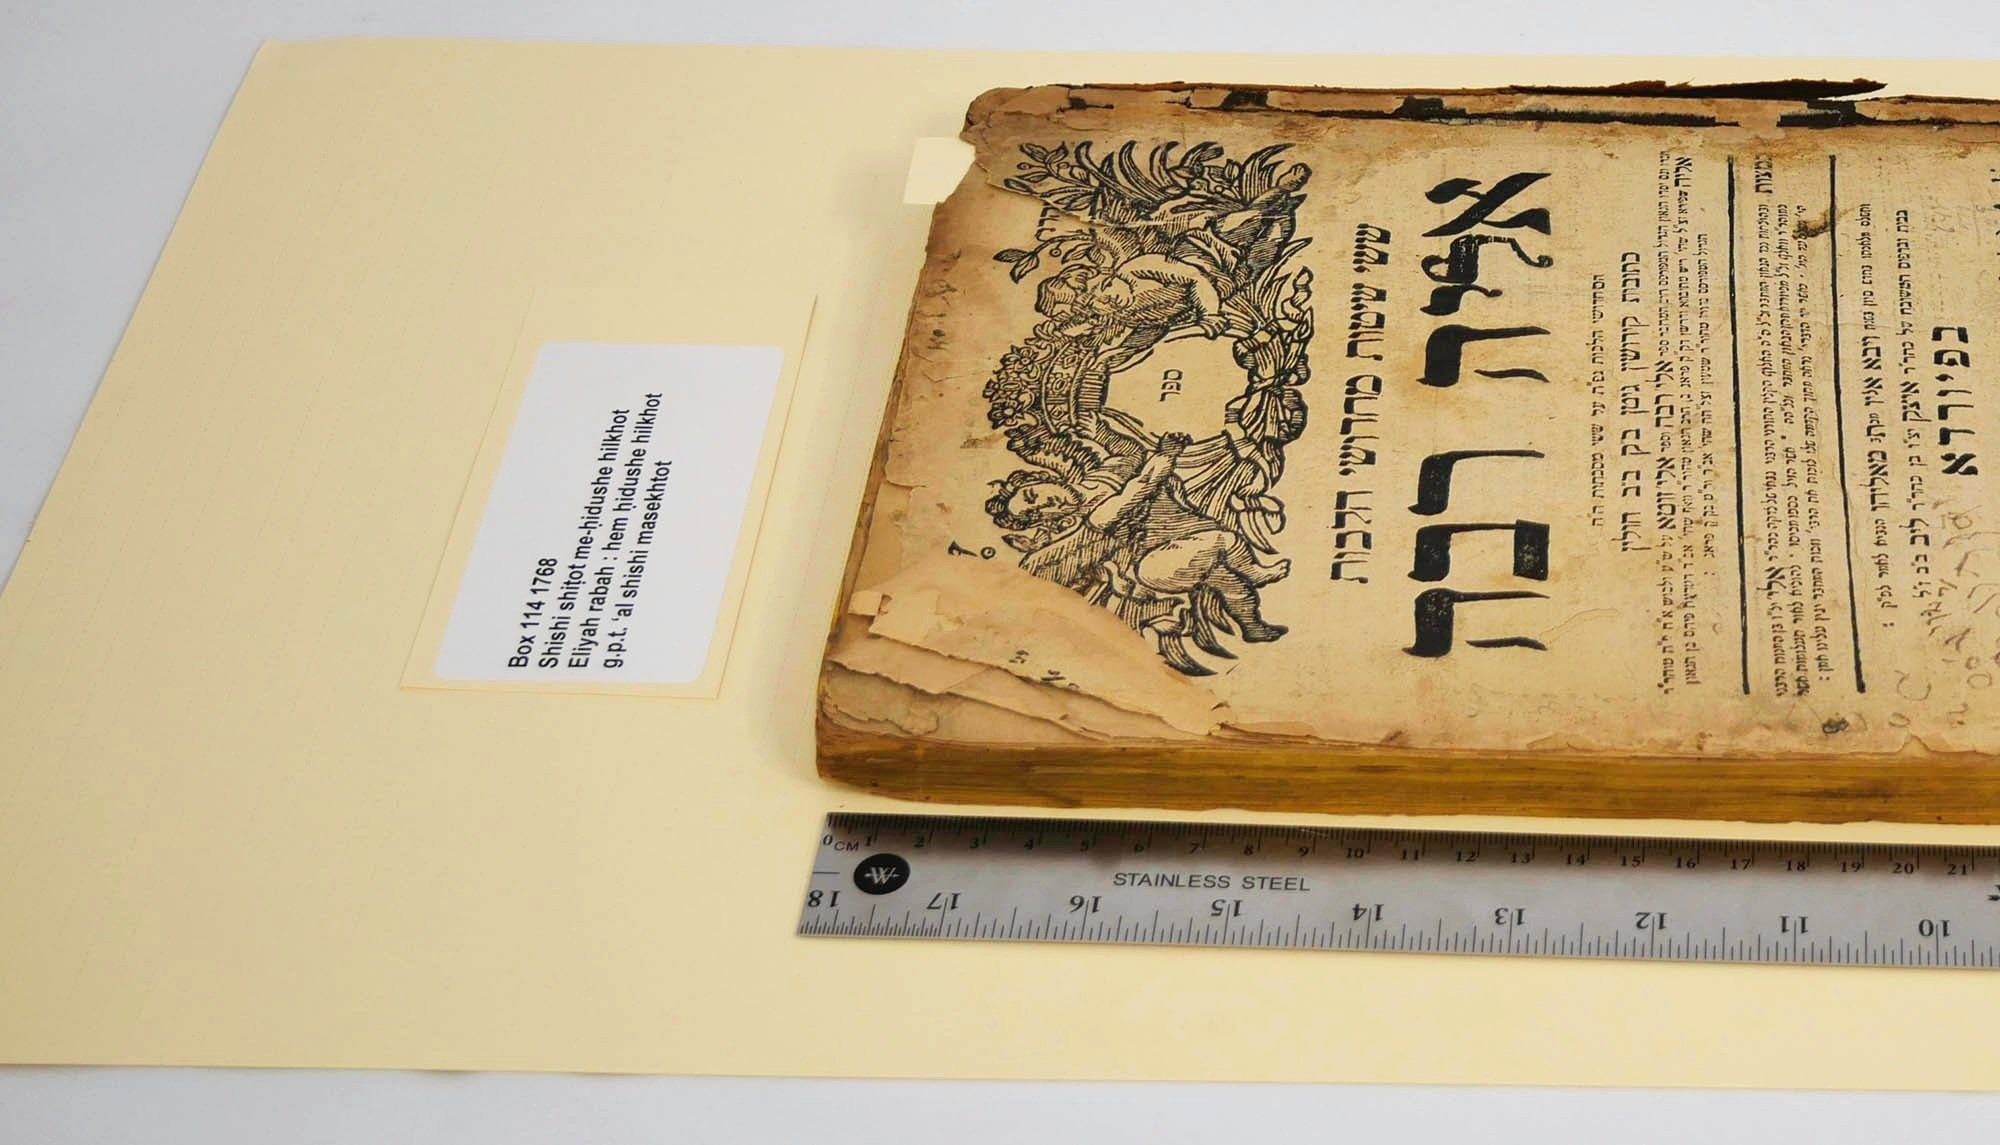
1. First, we set aside the rare book call number label and center the material within the larger cardstock to allow us to mark the locations for folds to encircle the top and bottom of the material. The rare book box cardstock comes perforated to ease the creation of folds in this direction.
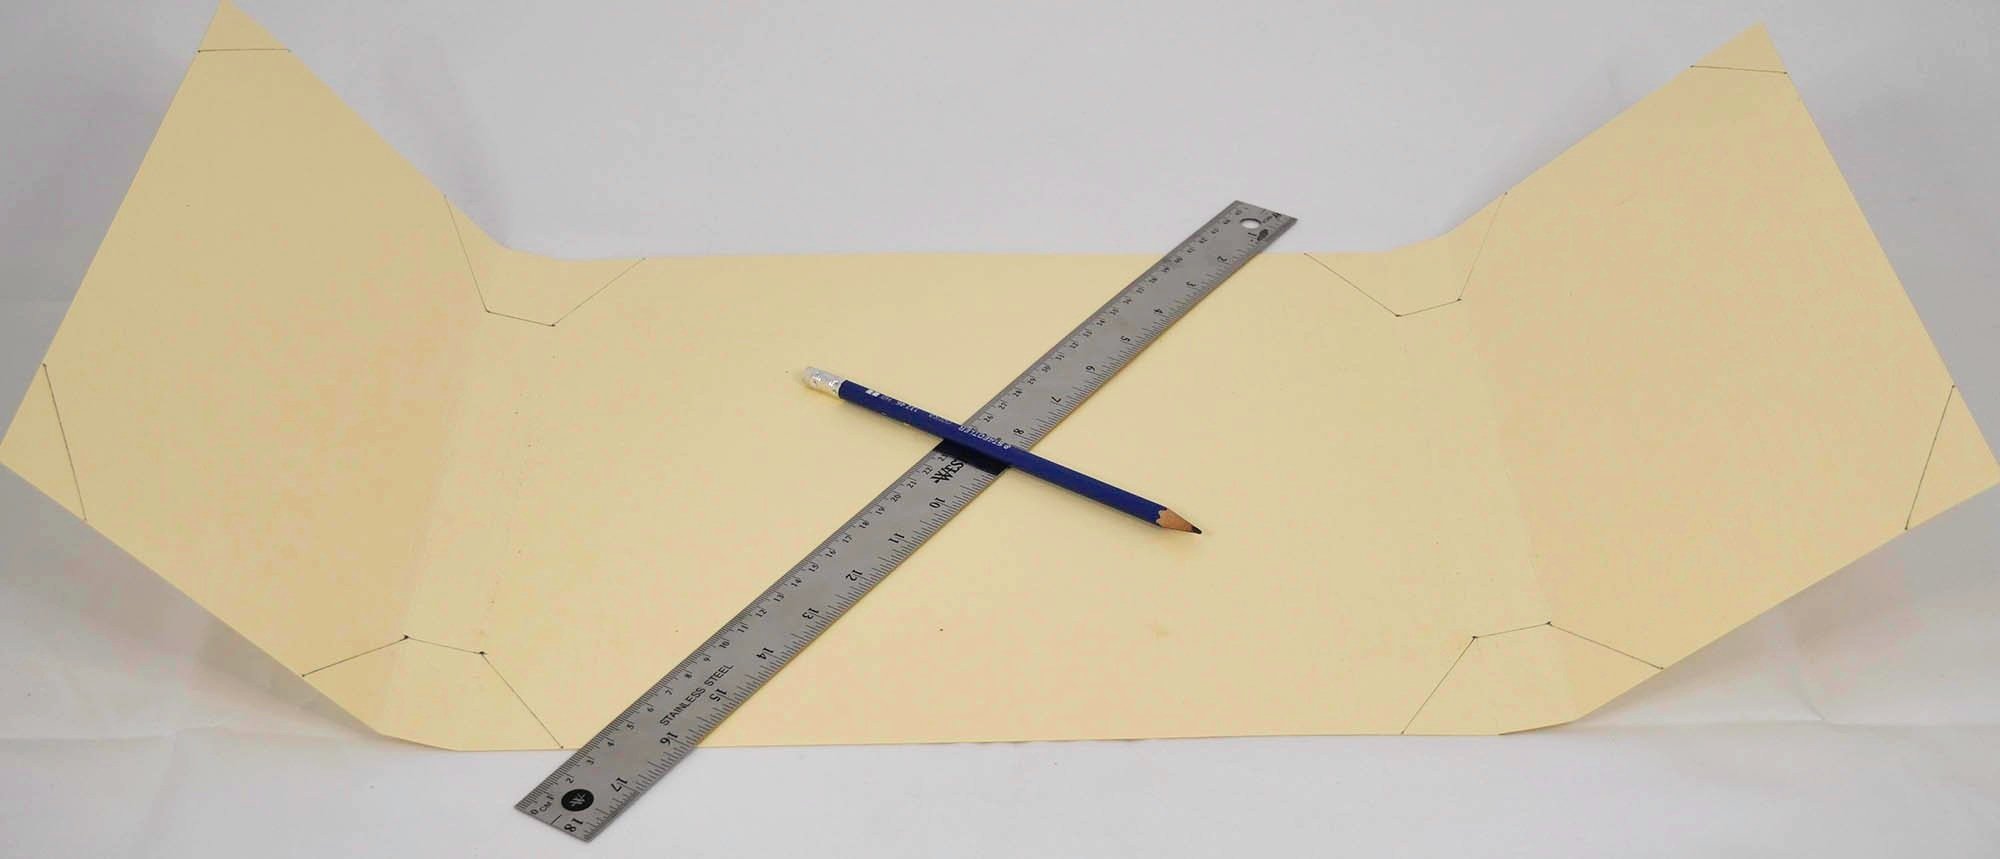
2. Once these folds are made, we return the material to the cardstock and measure from the outside edges in preparation for vertical folds. Before making these folds, we trim away excess materials from what will be the corners. We apply our measurements along the perforated folds and the top and bottoms edges then cut away at a shallow angle (approximately 30-60 degrees).
3. We then fold in the flaps to protect the edges of the material (using a straight edge such as a ruler is helpful here.) If these newly folded edges exceed the height of the material, measure the height and trim them back.
4. We will now add in the 6”x23” cardstock. Center it perpendicularly underneath the larger 12”x27” and mark fold locations and make folds along the perforations of the 6”x23” cardstock to enclose the 12”x27” card and material.
5. Using acid-free tape, we adhere the two sizes together as well as the call number label to the spine. If the book box is too narrow, we copy the call number in pencil and adhere the label to the front.
6. With the hooks pointed upward (away from the material), we attach the Velcro to the overlapping flaps created by the smaller cardstock.
Now that the rare book box is complete, the material can be shelved in the archives and used in reference and for community events without unnecessary risk!


